New look, same great product! HelloSign is now Dropbox Sign.
Dropbox Forms is free! Try it out!
The latest version of Dropbox Forms makes it incredibly simple for anyone(technical or not) to create and launch document workflows. Plus, there’s a free plan which gives you the perfect opportunity to play around with the product to see what document processes you can improve.
This post will walk you through how to create and launch your very first workflow using Dropbox Forms's drag-and-drop interface.
Note: If you’re an existing Dropbox Sign customer you already have a Dropbox Forms free account. Simply use your Dropbox Sign credentials to log into your Dropbox Forms account here. If you’re a new user you can easily sign-up for a Dropbox Forms free account here.
Ready? Let’s get started!
Navigating Your Dropbox Forms Portal
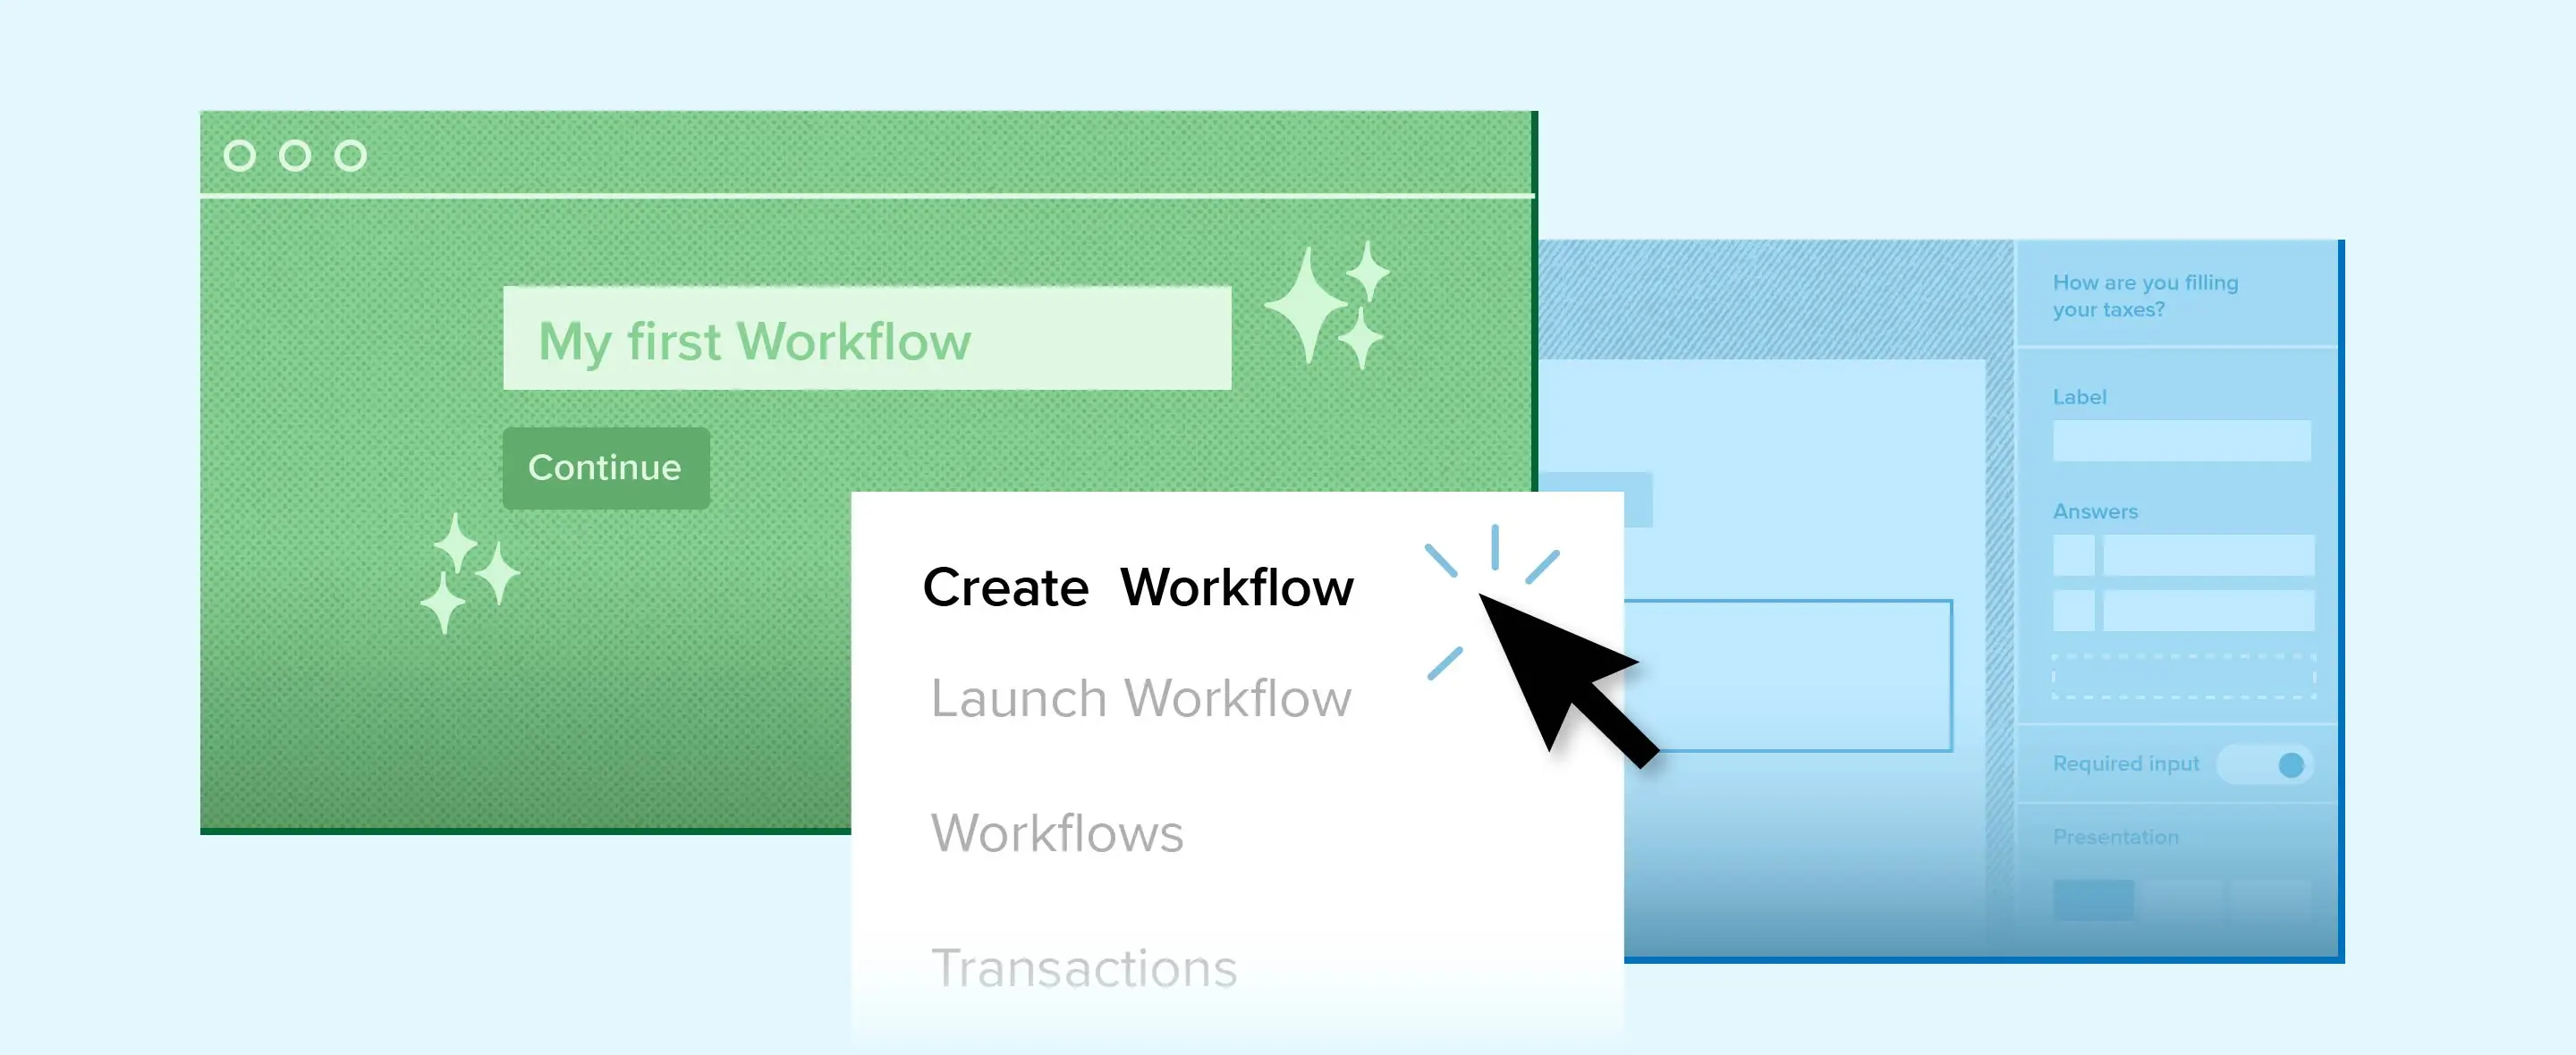
Before we start building, let’s walk through the basics inside the Dropbox Forms portal. The Dropbox Forms portal is where customers go to create and launch workflows with simple drag-and-drop functionality.
When you first log into the portal, you’ll be taken to the “Workflow Library” screen. Here you can see when you last made edits to a workflow and when a workflow was last published. You’ll also be able to edit and delete workflows from this page.

Some other menu options within the Dropbox Forms portal include creating a new workflow (“Create Workflow”), launching an existing workflow (“Launch Workflow”), viewing status of launched workflows (“Transactions”) and managing permissions and access rights (“Team”).
For this tutorial we’ll mainly in the “Create Workflow” and “Launch Workflow” tabs.
Building & Launching a Workflow in Dropbox Forms
To kick-off the creation process, you’ll first want to navigate to the “Create Workflow” option on the left-hand side of your Dropbox Forms portal.

From there you’ll be prompted to name your workflow. You’ll also be asked to add participants to your workflow.
The example document we’ll use in this tutorial is a sample Non Disclosure Agreement (NDA). We’ll assume this is an NDA new hires must fill out prior working with a company. Keep in mind, unlike an eSignature solution, Dropbox Forms can be used to automate a wide range of document-centric processes not just those that require signature.
Once you’ve completed the initial prompts you’ll be taken to a screen where you can begin the first step in creating a workflow: build.
We have a series of short videos to show you exactly how to complete the workflow process in four easy steps.
Step 1. Build
The first step of creating your workflow will be to build your form.
Step 2. Map
After building your form, it's time to map the form components to your document.
Step 3. Preview
You're almost ready to launch! It's time to preview everything to make sure it looks great.
Step 4. Launch
Launch time! Your workflow is ready to send.
Ready to Get Started?
We hope this post gave you a good sense of what you can accomplish with Dropbox Forms. Start creating and launching your first workflow today by logging into your Dropbox Forms account here or signing up for a free Dropbox Forms account here.
If you want to learn more advanced functionality of Dropbox Forms, be sure to check out some of our other videos:
- Dropbox Forms Advanced Topic - Document Generation
- Dropbox Forms Advanced Topic - Merge Fields
- Dropbox Forms Advanced Topic - Multi-Participant Workflows
- Dropbox Forms Advanced Topic - PDF Preview
Happy building!
Stay in the loop
Thank you!
Thank you for subscribing!